healing haven

April 30, 2016

Zentangles Mardi Gras shoes

Recently I had the opportunity to tangle some shoes for a friend who is part of the ‘Muses’ Mardi Gras crew.  They hand out (not throw) decorated shoes rather than beads.  I finished doing 6 shoes for her.
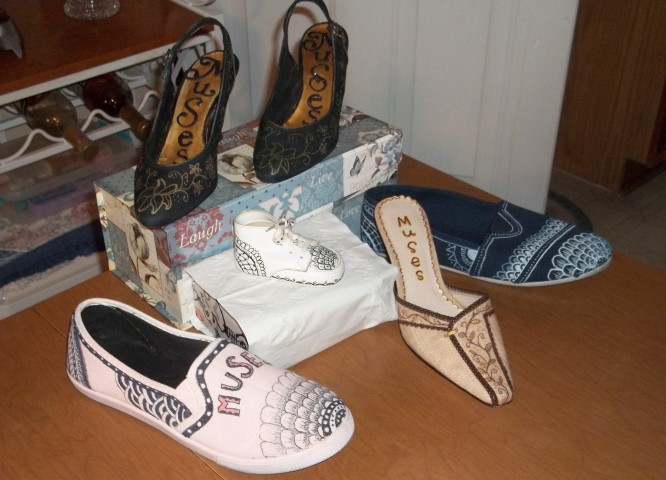
2016-2-2 Margi Gras shoes 4x6

The first shoe I did was a black heel using a gold metallic paint pen for the tangle design I planned following the contours of the shoe.  I also tangled on the heel itself.  Then I used gold paint on the inside and black with gold specks alphabet letters to adhere the word “Muses”.
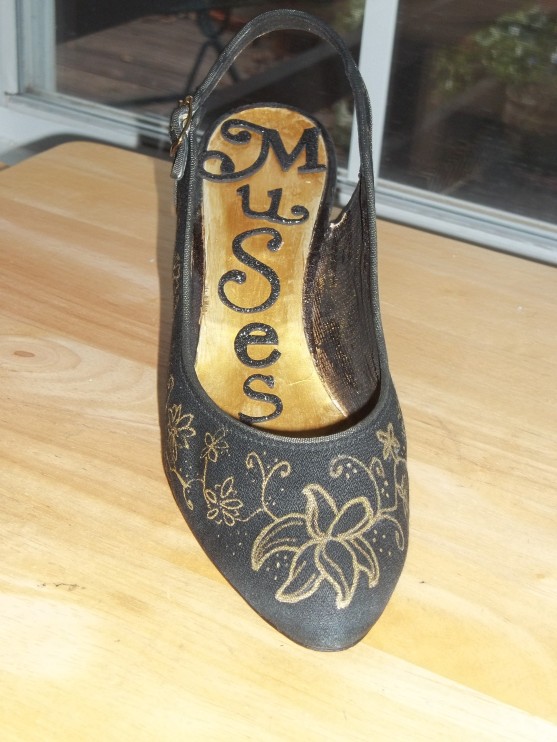
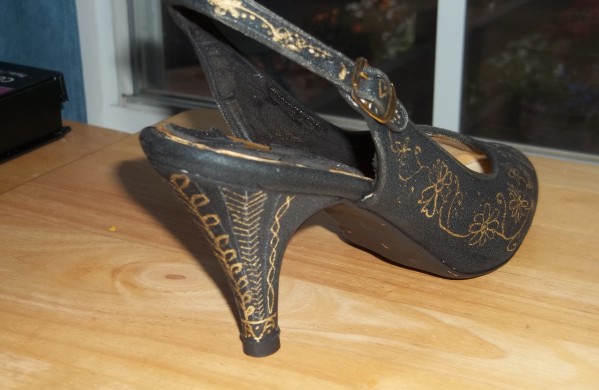
11-2 shoe black heel front

11-2 shoe black heel heel

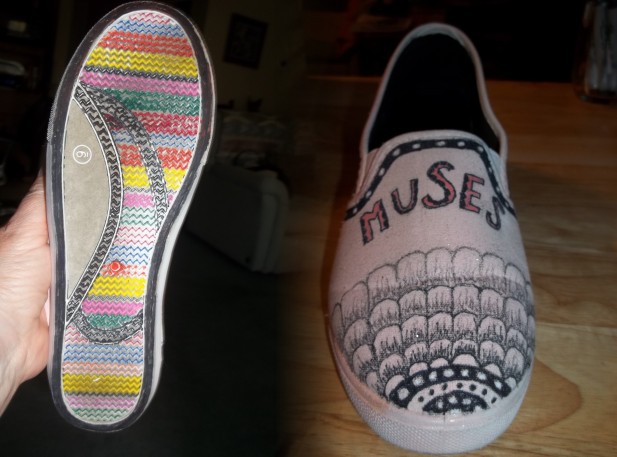
Then I did a light pink canvas shoe whereupon I followed the stitching to plot out my design.  A black Sharpie marker worked well on the outside.  I also painted the inside with black paint and used various colored Sharpies for decorating the patterned bottom of the shoe.  I later added black paint to the area of the bottom which is still gray in picture.  Again the word “Muses” is on the shoe.
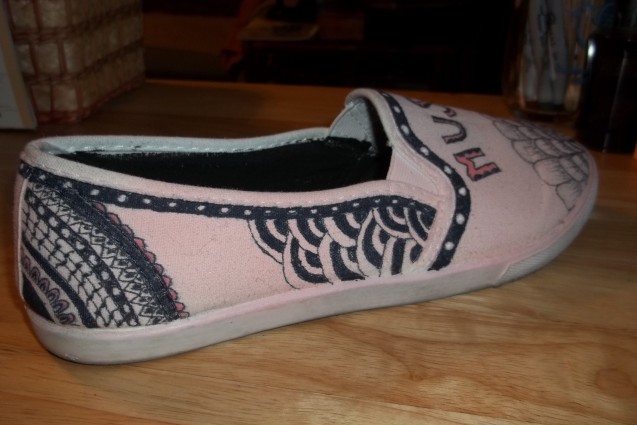
10-25 pink shoe side

10-25-pink shoe Stitched

I followed much the same process for the tan heel and the blue canvas shoe.

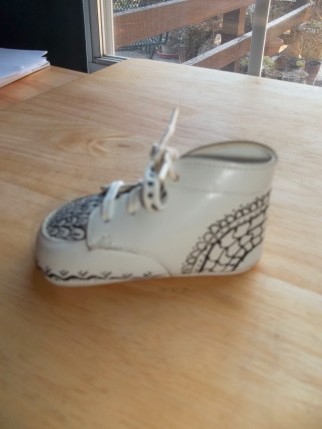
Finally, I was fortunate to tangle one of my partner’s baby shoes which she had just found.  A black Sharpie worked beautifully on both the shoe and the shoelace after being washed.
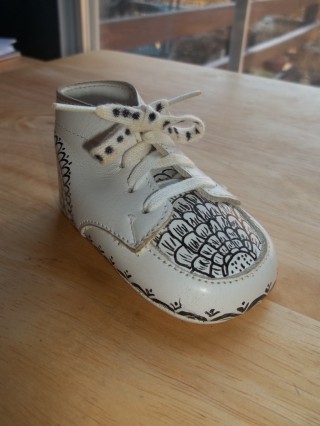
12-27 baby shoe tangled front   12-27 baby shoe tangled side inner

Making these shoes for the Mardi Gras Parade was a new and intriguing project for me.  I enjoyed the creativity and imagination needed to decide the pattern for each shoe so it flowed in a natural way with the actual physical design of the shoe.

I have used these pictures in both my Project Life album and for The Documented Life Project.  In addition, they are now a part of my partner’s memoirs.


March 21, 2016

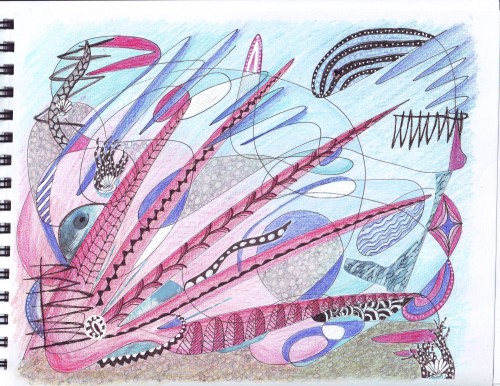
Coral Under the Sea

This is the finished piece I did inspired from a class taken online with Paivi Eerola called Inspirational Drawings.

2015-7-31 finished Coral under the Ocean

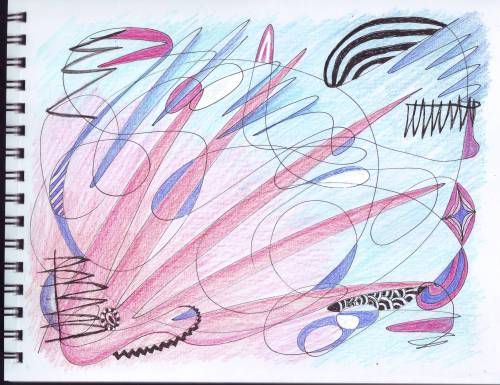
Her method is so organic in that it starts with scribbling in pen all over creating the basic lines and shapes to work with – no planning ahead.

2015-7-17 Coral under the Ocean 1 beginnings

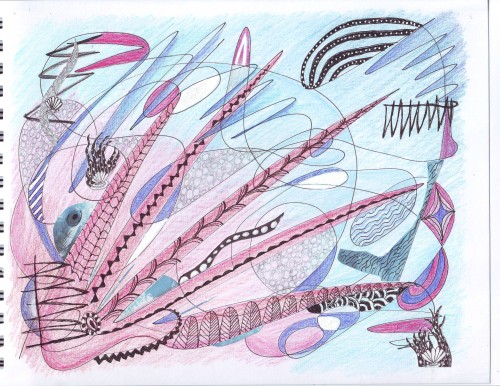
Then one uses colored pencils all over, varying as one goes with no outcome in mind, adding black highlights here and there and starting to see what may be happening.

2015-7-15-22 Coral under the Ocean 2 middle

Adding in a bit more of doodling and zentangle designs here and there helps to move it forward.  I also collaged on a few pieces of works I had previously done for another project which seemed to fit the design style and which brought me to the finished product seen at the beginning.  Pebbles more defined and in darker colors at bottom give a base for the piece of “Coral Under the Sea” even though I could also see many other ways I could have interpreted it (like using the face that appeared).

This is not at all my usual style but I love the freedom and the flow in the process itself.  Paivi is a wonderful teacher filled with information as well as inspiration  and combining looking at art from both sides of the brain – analytic along with creative.


February 26, 2016

Return

Filed under: Uncategorized — by thalia @ 9:31 am

After a long silence, I finally have some time to post again – I think.  At least for today.  Have been busy with many things, including my health which needed attention.  But art journaling has been a healing therapy for me throughout this time.

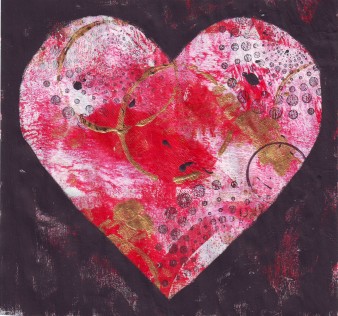
2016-2-12 heart of red and gold within black

This heart was made by layering on red, pink and gold acrylics onto parchment paper. Then a light black stencil was used.  A black gelli plate was cut out to reveal the heart.

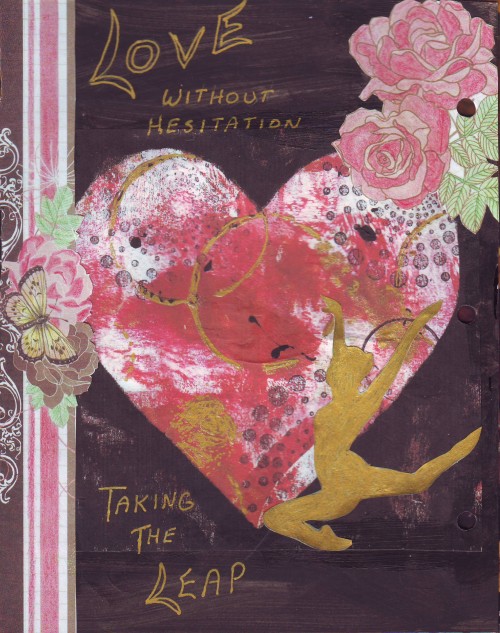
I later utilized this on a design for a ‘The Documented Life Project’ prompt.

2016-2-23 DLP Love-Leap no holes

And also for a Valentine’s Day card.  Many uses from the original project.


February 11, 2015

Negative Space Acrylic Layering

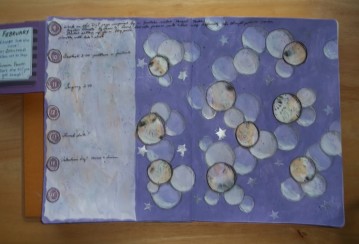
I had just seen a wonderful video entitled “Mixed Media Negative Planets” by Dana C on a Youtube Pinterest post and was really intrigued by the idea of working with negative space.  Then the prompt for The Documented Life Project was “Layering; when not to stop” so it seemed like the ideal time to try the new technique resulting in this final set of pages:

2-9 DLP layers 2 w-stars

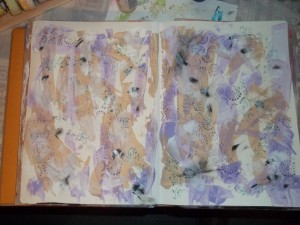
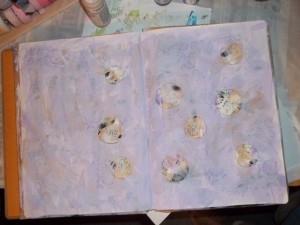
However, I started by gessoing the center fold of the pages so no paint would seep through.  Then splotched on acrylic paint and gesso, stencil and stamps, dabs of this and that, winding up with this hodge-podge.

2-7 DLP layers 1

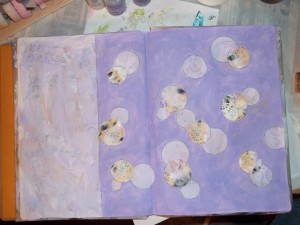
The next step was to take my circle stencil and make a few circles over interesting areas in pencil.  Then took a mix of light purple and gesso and painted over it all except for the circles.  This was the result:

2-7 DLP layers 2

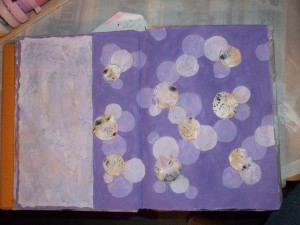
Then with the circle stencil again I added a few more circle in pencil that generally touched the ones I had already.  Then painted with a slightly darker purple acrylic over everything but the old and new circles and the left side of the page where I plan to put a planner and journal leaving this:

2-7 DLP layers 3

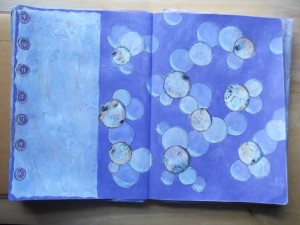
Again, the same thing of making more circles generally touching those already there before adding a dark purple over everything but the circles and also adding a border on the left.

2-7 DLP layers 4

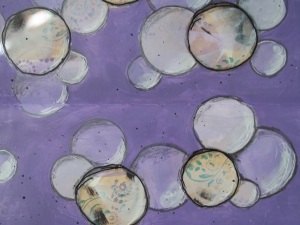
Started to outline the circles with pencil to have them stand out and have some shading as well as adding in date circles on the left.  This picture shows it as much bluer than the pages actually are.

2-7 DLP layers 5

Finishing touches of pen and charcoal around the circles and begin the planner/journal, which is so wonderful in organizing one’s thoughts and events.  In time, this journal will become a memoir for me and my family.

But couldn’t stop – still needed to add something else – stars.  But first I added black acrylic paint splatters, then silver acrylic with a stencil and added in stars and finally the tip-in for the month’s Art Challenge and Journal Prompt, resulting in these pages ready for more journaling and planning as seen at the top.  Here is a close-up of the “planets”:

2-9 DLP layers even closer

I was amazed by how the thought process of negative space is so very different from what one usually does in painting something.

September 24, 2014

Week 33: Document Life Project – use underpaper or paint wipes

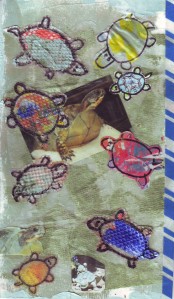
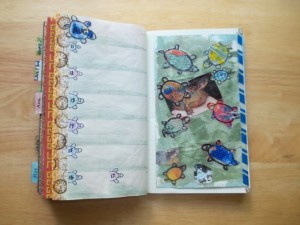
The Week 33 prompt was to use underpaper or paint wipes as part of your art for the week.  My tip in used baby wipes and under paper cut into turtles placed all over.   I added two pictures I had taken of turtles who had visited my garden.  Washi tape is used to connect the extra page to the regular moleskine pages.

DLP underpaper turtle 1 page
The top turtle on the left, showing the month on the planner page below, is from under paper whereas the other numbered turtles are made from regular painted paper.

8-8 DLP turtles 2 pages

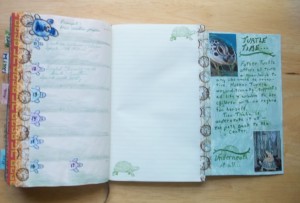
This then developed into the 3 pages with the back of the tip-in showing wonderful pictures of turtles from Pinterest along with a fictionalized ‘Legend’ of Turtle Time with Mother and Father Turtle.  This, along with the clock washi tape, provides their sense of long-lived, slowed-down time. Planner and journal are now ready for the week’s events and feelings.

8-13 DLP turtle time 3 pages

September 9, 2014

Week 32 Document Life Project Process

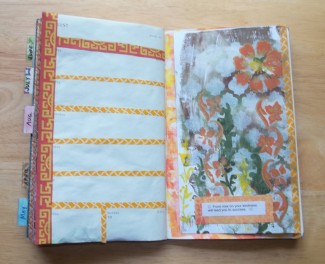
I am always intrigued how almost every prompt has coincidentally allowed for me to document my week in a meaningful way.  It happens again and again.  The prompt of “Use a Chinese fortune cookie saying” for Week 32 just happened to follow a week where I brought home the fortune – a practice I don’t usually do.  And not that the fortune was outstanding – it just seemed like a good idea.  I had brought home a paper placemat as well.  Since it was from a Chinese restaurant I was looking for an Asian themed background.

One of the gelli plate ages I had already done didn’t turn out very well.  The colors were darker than I like, but when I looked at the design, I saw it had an Asian look to it with a trellis background.  I added some stencil flowers of orange acrylic along with some vines of green and yellow.  The fortune itself was pasted on a piece of colorful orange from another project.

8-5 DLP fortune cookie 2 pages - Cr

I cut off the key design from the menu and used it as a side and top embellishment along with some orange washi to divide for the days of the week.  It was a great exercise in recognizing there are no mistakes in art that can’t be improved upon.  Just re-layer/re-paint.

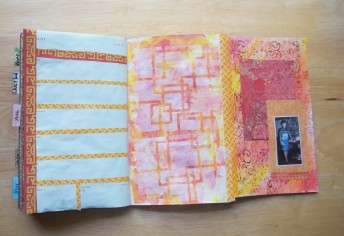
On the back of the tip in I did some gelli plate printing and added a long ago picture of myself wearing a Chinese-style dress gotten in Panama.  On the center section I gessoed an interlocking block stencil which also added to the trellis look.

8-5 DLP fortune cookie 3 pages

Everything was then ready for planner page and journaling along with some memoir writing about the dress and Panama.  The fortune?   “From now on your kindness will lead you to success.”  This came in a week when I wondered whether kindness was worthwhile at time.  In a world where some people feel okay about spewing out their opinions and yet don’t want anyone else to express theirs in return, I sometimes momentarily wonder about it all.

It is an issue that brings to mind the saying: Is it true? Is it kind? Is it necessary?  Most people seem not to bother with the first question, much less the second and definitely not the third.  If they think something, it is necessary to opinionate it.  My father more accurately called it “diarrhea of the mouth.”

These pictures of the pages also then became printed out and included as part of my Project Life album.


August 27, 2014

Garden Visitors

Filed under: gardening,turtles — by thalia @ 9:17 am
Tags: , ,

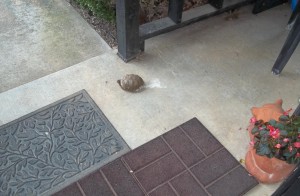
Two different days this week, we opened our front door to find visitors, just waiting to be welcomed.  First there was a turtle right on the porch, looking up.  (You can see the raccoon flower pot but right next to that is a turtle flower pot – maybe he recognized a friendly place for turtles.)

8-19 turtle on porch

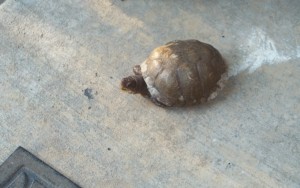
He was still there with head out even after I ran to grab my camera and came back.  And as I moved closer to take close-up shots, he remained watching as if to welcome a picture session.  From the beat-up missing parts of his shell, it was obvious he had been involved in a few difficult moments in his life.

8-19 turtle

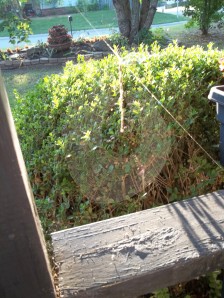
The next visitor is actually someone who has maintained a permanent spot on the porch railing.  A spider who has learned to keep her web to one side of the walk-through as so she does not have to redo it every day as we leave the house.

8-19 spider's web on porch

This picture was taken with the sum shining through the web.  I tried it from the other side with the sun shining directly on the web, but it didn’t show up as well.

We delight in the interactions with our neighbors, human and otherwise.


August 22, 2014

Document Life Project: Week 34

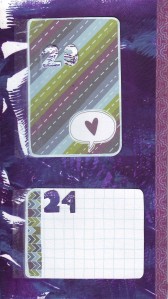
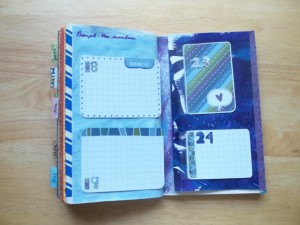
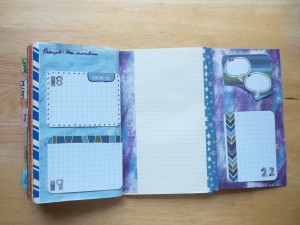
This week the prompt for The Document Life Project Art Journal was to add numbers relating to your week.  After thinking about the numbers in my week, I realized that the dates themselves relate best to my week, so I decided to use my Becky Higgins ‘Rain’ Project Life cards, either whole or cut down or embellished, with the dates on each card taped so it hinges. Underneath and/or on each card will be the actual happenings and journaling of the day.   This is the tip-in page, with the background made from using a gelli plate, for the week so it has the dates of the last part of the week along with the washi tape which will attach the page to the rest of the moleskine journal:

DLP numbers 1 page
The following is the tip-in flipped over along with the first page of the planner so the numbers reflect the beginning and last of the week, all with hand-cut date numbers from the cut-down cards themselves:

8-19 DLP numbers 2 pages
And this is the completed 3 page inside spread ready for lots of journaling and recording memories of the week.  The right hand page is also made from using a gelli plate.

8-19 DLP numbers 3 pagess

What a great way to utilize some of my beautiful Project Life cards in yet another project!


August 19, 2014

Embellishing Project Life cards with Washi Tape

Filed under: Art Projects,Project Life — by thalia @ 11:57 am
Tags: , , ,

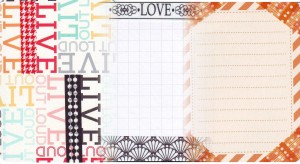
Embellishing the various Becky Higgins Project Life cards has really added to my variety of cards to use for Project Life as well as enjoying the creating itself.  So much extra can be done with washi tape.  These are examples of three 3×4 cards stitched together.

3 PL cards 3x4 Stitched-07

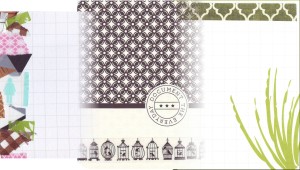
Here are three more embellished 3×4 cards, the one on the left with just snippets cut off from other projects:

3 PL cards-Stitched-03
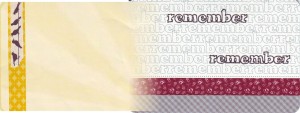
And two 4×6 cards, again stitched together:

2 PL cards 4x6-Stitched-04

With some washi tape and many of your cards, bought or homemade, you can embellish and re-create new cards to use in your Project Life albums.

August 12, 2014

Gelli Plate – inexpensive and homemade

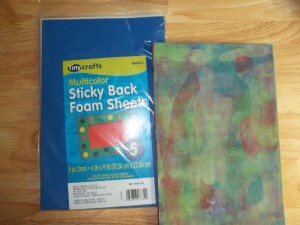
I’ve looked into purchasing a gelli plate because I loved the look of what could be done with them, but I found they were too expensive.  So I wandered through Hobby Lobby just looking, not for a gelli plate, but for something that could function as a gelli plate with the same properties.  I came across craft foam in sheets with adhesive backings in the children’s section.

8-8 DLP gelli plate craft foam
Adhering two of the 6 x 9 sheets together added some thickness and give to a solid surface.  I’ve used mine over and over, washing it out in between, and keep getting great results.  It may soak up a little more acrylic paint than the regular and you can see that some of the paint remains on the sheets even after washing, but it still works great.  The price difference is worth it.

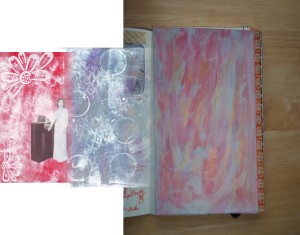
Here are some of the many backgrounds I’ve made with my inexpensive homemade gelli plate, the left side one used for a post honoring my mother, the right used as a base for a Document Life Project prompt, with the middle one still to be used

gelli backgrounds-Stitched-02

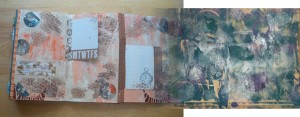
Here, the left shows 3 gelli plate with stenciling pages ready for journaling/planner for a Document Life Project set of pages and the right ready for use.

gelli papers-Stitched-03

(And I still have four more sheets in the package.  I have used these for art journaling Document Life Projects,  Project Life backgrounds for photos, and background for SoulCollage works, even for making greeting cards.)


Next Page »

Create a free website or blog at WordPress.com.